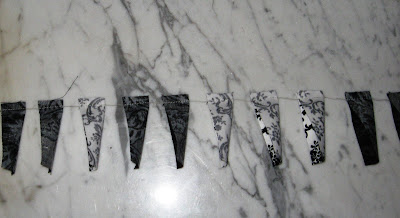
Good Morning!
I've been promising a 'Tutorial' on how to use the EZ Dresden Ruler for those of you who have seen me at the shows, so here goes!
(The following quilt was pieced and quilted by Marla McDermott of Kanab Utah)
Cut strips 2 1/2" wide (or use a Jelly Roll)
Using your EZ Dresden Ruler place the ruler straight on the fabric from 0 - 2 1/2".
Using your rotary cutter slice your first set of blades.
Turn the ruler the exact opposite way and slice your next set of blades.
Continue to the end of fabric.


Fold blades right side together and sew across the widest portion with a 1/4" seam.
Chain stitch several through the machine. Clip apart.
Turn inside out and using a blade turner poke out your point as best as you can being careful not to poke a hole through it.
To make the full flowers alternate your lights and darks paying attention to values and scales.

 Start by lining up two blades right sides together and chain piece through machine sewing them together with a 1/4" seam. Clip apart. Continue joining 20 blades together. Join the circle by sewing the first and last blade together.
Center of Flower:
After cutting out your template for either the full flower, quarter or half, place it on top of some iron on stabilizer which has the sticky side face down on top of the right side of the fabric for center piece. Cut out circle (or half circle, quarter circle):
Sew a scant 1/4" seam around circle. Clip edges. Put a small slit in the stabilizer at back to turn the unit inside out. Make edges as smooth as possible. I run my blade turner all around the seam edge of the circle. Do not press until it is on top of flower and ready to be applied to quilt top. Otherwise you will have it sticking to your ironing board.

Top stitchthe flower petals on following your quarter inch foot on your machine. Find a decorative stitch to topstitch on the flower center. (It is hard to make a perfect circle. If you use a straight stitch to sew on the flower center all of your imperfections will show. I use the #19 stitch on my Bernina 125)
 For Quarter Fan Blade Unit covers you can either finger press the cover 1/8" down, or use a circle like above and cut it into quarters OR: in the picture to the right, you can take the plastic template you made (as long as it is the NO MELT mylar) and adjust it where it is about 1/8" down from the top and use the plastic as a guide and iron it over it.


